Ready to boost your Nerf gaming? This guide will show you how! You’ll learn to design, print, and put together unique parts for your Nerf guns. 3D printing can improve how your Nerf blasters work their looks or even add new functions.
You’ll learn everything from picking the right 3D printer to creating your designs. With this guide, you can level up your Nerf game.
Key Takeaways
- Discover the benefits of customizing your Nerf guns with 3D-printed parts
- Learn how to select the right 3D printer and materials for your Nerf mod projects
- Gain skills in designing and creating personalized Nerf accessories using CAD software
- Understand the step-by-step process of preparing, printing, and post-processing your custom Nerf parts
- Explore advanced tips and techniques for enhancing the performance and aesthetics of your Nerf blasters
Introduction
Customizing Nerf guns is now a big hit in the enthusiast Nerf community. Enthusiasts love to make their blasters unique and better. They use 3d printing projects to craft special parts for their guns.
Benefits of Custom 3D Printed Parts for Nerf Guns
3D printing changes everything for Nerf fans. It lets them make their parts. They can now:
- Make their Nerf guns look unique
- Improve how their Nerf guns work
- Try fun mods and custom jobs
- Fix or swap out old Nerf parts
- Feel good about their cool DIY projects
Overview of 3D Printing Technology
The world of 3D printing is amazing and always growing. It works by adding layer upon layer to form objects from digital models. Using this, Nerf fans get to make detailed and perfect custom parts.
As more and more people join in, we see endless new Nerf gun parts being created.
“3D printing has changed the Nerf world for the better, letting fans make their dream blasters.”
Getting Started with 3D Printing
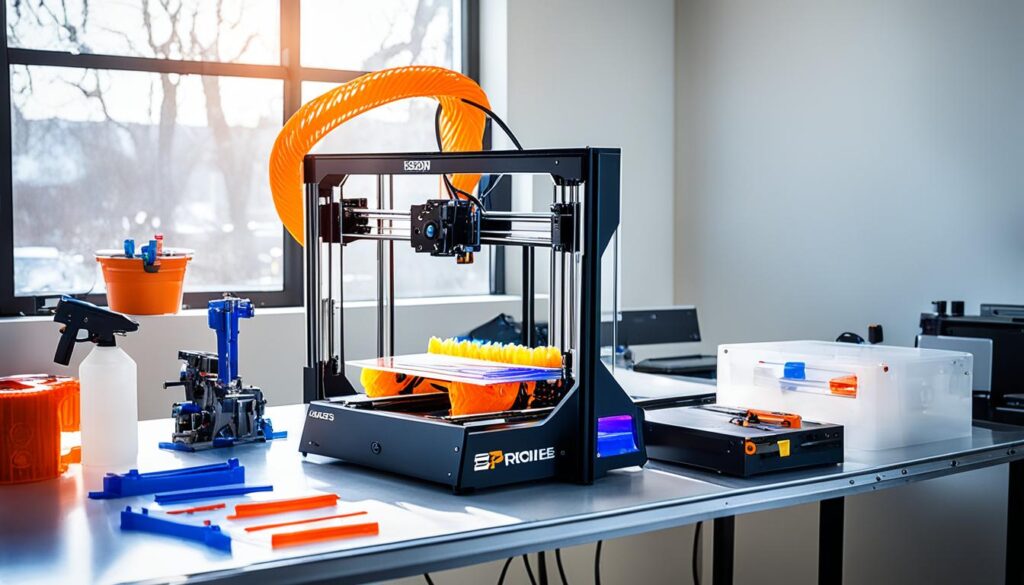
Want to make custom parts for your Nerf guns? First, you need a 3D printing setup. This section will help you pick the right 3D printer.
I’ll also show you what materials and tools to get. Plus, you’ll learn about the software used to make your parts. With the right setup, you can make your Nerf mod ideas real.
Choosing the Right 3D Printer
Picking the right 3D printer is key for top-quality parts. Look at the print resolution, build volume, and filaments it uses. If the detail is important and you have the budget, check out printers like the Ender 3 or Prusa i3 MK3S. The Anycubic Photon is great for resin printing.
Necessary Materials and Tools
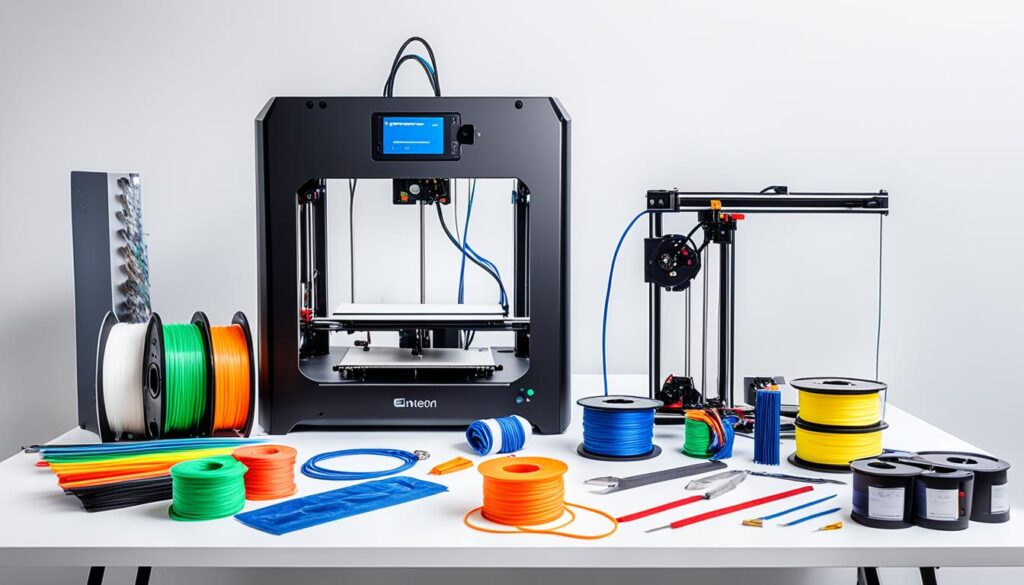
Besides a printer, you’ll need more items to start. Get PLA or PETG filament for printing. Tools like pliers, clippers, and sandpaper are needed for finishing your prints. A workstation can also help keep your area organized.
Software for Designing Custom Parts
To create your custom Nerf parts, use CAD software. Fusion 360, Solidworks, and Blender are good choices. They help you make 3D models in STL format. As you use these tools, you’ll get better at shaping, adding details, and getting your designs ready for printing.
| 3D Printer Model | Print Resolution | Build Volume | Filament Type |
|---|---|---|---|
| Ender 3 | 0.1 – 0.4 mm | 220 x 220 x 250 mm | PLA, PETG, ABS |
| Prusa i3 MK3S | 0.05 – 0.3 mm | 250 x 210 x 210 mm | PLA, PETG, ABS, PETG, TPU |
| Anycubic Photon | 0.01 – 0.2 mm | 115 x 65 x 155 mm | UV Resin |
Your 3D printing setup will be complete with the right equipment and software. Then, you can start a 3d printer setup and make custom parts to boost your Nerf gun’s performance.

Designing Custom Parts for Nerf Guns
The key to custom Nerf parts is the design. Being a 3D printing fan, I’ll show you important design steps. We’ll use powerful CAD software to make unique parts. You’ll know how to make cool and working 3D parts.
Understanding Part Requirements
Start by knowing what your Nerf gun needs. Think about size, shape, and fit with your gun. Look at the original parts closely. Note their size, how they attach, and special features.
Using CAD Software for Design
Now let’s design using CAD software. Fusion 360, Solidworks, or Onshape are great for this. They let you make exact designs. Try different tools to get the look and use you want.
Tips for Creating Effective Designs
- Prioritize functionality: Make sure your parts work well with your gun to boost its use.
- Consider aesthetics: Mix shapes, textures, and finishes to make your parts look great.
- Test and iterate: Print test versions to see if they work, then improve them until they’re perfect.
- Leverage online resources: Look online for ideas and designs you can tweak to fit your needs.
Learning to design custom Nerf parts opens up many cool options. It lets you make your Nerf gun better in fun ways. Ready to start making your Nerf dreams come true?
Preparing Your Design for Printing
Designing your Nerf parts is only the start. Next, get them ready for 3D printing. You must turn your designs into an STL file. This is the standard file type for 3D printing. Then, slice your models and set up your printer for the best outcome.
Exporting Your Design to STL Format
The STL format is key for 3D printing. Choose “Export” or “Save As” in your CAD program and pick STL. This makes a file perfect for your 3D printing setup.
Slicing the Model with 3D Printing Software
- With the STL file ready, it’s time to slice it. This means turning it into layers the printer can handle.
- Cura, Slic3r, and PrusaSlicer are great for this.
- These tools help you tweak settings for the best print quality and speed.
Setting Up Your 3D Printer for Optimal Results
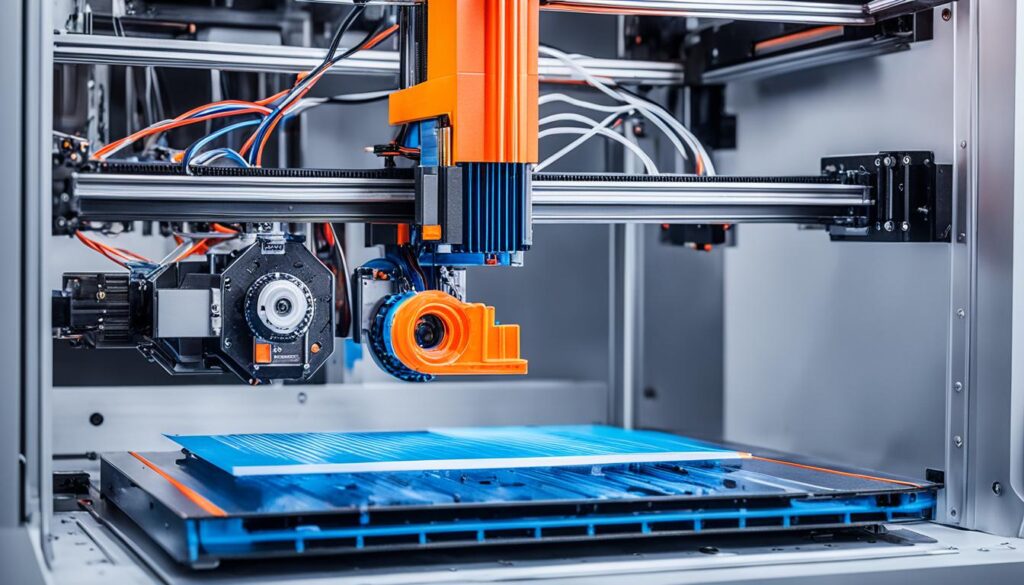
Now, set up your 3D printer correctly. Make sure everything is level and calibrated. This is key for good results.
- Getting the STL format and slicing models right is crucial for good prints.
- Take the time to set up the 3D printer properly. This leads to great custom Nerf parts.
- Printing might need a few tries to get perfect. Be patient and keep learning.
“3D printing opens up a whole new world of customization and personalization for Nerf guns. The ability to design and print your own parts is a game-changer.”

Printing Your Custom Parts
With your 3D printer ready and designs set, printing your custom Nerf parts is time. You’ll be shown how to choose the right filament. Then, start the printing and watch it closely to get the best results.
Loading the Printer with Filament
Choosing the filament is your first step. Think about the part’s strength, flexibility, and colour. Follow your printer’s guide to put the filament on the right. Make sure everything’s set up correctly.
Starting the Print Job
Now, start printing. Ready your model with the software, adjusting layer height and other settings. When it looks good, hit “Start Print.”
Monitoring the Printing Process
Watch the print carefully as it goes. Keep an eye on the filament and the parts being made. If something seems off, stop and fix it.
Checking on the print regularly is key to getting great results. Stay focused throughout the printing process. This way, you’ll make perfect Nerf gun accessories.
Post-Processing Your Printed Parts
Once your custom Nerf parts are 3D printed, the next step is to remove them from the print bed properly. This step is key for the parts to fit and work well. I’ll walk you through cleaning, finishing, and adding the parts to your blasters.
Removing Parts from the Print Bed
Removing the parts carefully is important. Use a flexible metal scraper or spatula. Gently pry them off, ensuring they do not harm the bed or parts. Don’t hurry, or you might break or bend them.
Cleaning and Finishing Printed Parts
Now that the parts are out, clean and finish them. Start by using a deburring tool to remove extra filament or sharp edges. Then, sand the parts smoothly. Begin with 80-grit sandpaper and end with 220 or higher for a polished look.
For a pro touch, paint or apply clear sealer. This makes the parts look good and stay strong against the weather. Try airbrushing or painting by hand for the look you want.
Assembling Parts with Your Nerf Gun
The last step is to fit your custom parts with the blaster. Always follow your Nerf model’s manual. Make sure the parts fit well and are firmly connected. Friction welding helps join pieces if they don’t fit exactly.
With care and focus, you can upgrade your Nerf gun. Make sure to be safe while working with your Nerf blaster.

| Tool | Purpose |
|---|---|
| Deburring Tool | Removing excess filament and rough edges |
| Sandpaper (80-grit to 220-grit) | Smoothing and finishing printed surfaces |
| Primer, Paint, Enamel | Enhancing aesthetics and durability |
| Rotary Tool (Dremel) | Friction welding for secure part assembly |
“Friction welding is a powerful technique for fusing 3D printed parts, allowing you to create seamless, durable connections between custom and factory-made components.”
Troubleshooting Common Issues
3D printing has its own set of challenges. You might face issues like print failures, low quality, or design problems. I’ll give tips to fix these issues and get top-notch print quality for your Nerf projects.
Addressing Print Failures
Print failures are a top hassle in 3D printing. They happen due to bad bed levelling or bad filament.
To fix troubleshooting 3d prints, first look at the bottom layers of your print. If it’s not sticking well, try raising the bed’s temperature or using adhesive. If problems stay, examine your filament for damage like nicks or moisture.
Improving Print Quality
Getting good prints is key for 3D Nerf parts that work well. To get there, ensure your printer and slicer settings are right. Experiment with settings like speed and layer height. Also, watch the first layers closely as they set the tone for the whole print.
Fixing Design Flaws
Even the best print can be flawed by bad design. Before printing, check your model for weak points. Look for thin walls and overhangs that could make the part break later. If you find problems, return to your design to strengthen it.
With the right fixes and better printing know-how, you’ll start making great parts for your Nerf guns. And remember, trial and error is part of the learning process. Keep trying and learning to reach your printing goals.
“The key to successful 3D printing is understanding the nuances of your specific setup and being willing to make adjustments until you get the results you’re looking for.”
Advanced Tips and Techniques
Diving into 3D printing for Nerf guns opens up endless new possibilities. I’ll show you some advanced tricks and tips. These will take your Nerf mods to the next level.
Customizing Designs for Better Performance
With 3D printing, you can craft custom parts to meet your Nerf blaster’s needs. Understand what your blaster requires. Then, design and print parts to boost its performance. This might mean changing shapes, sizes, or structures for better accuracy or firing power.
Design a barrel extension to increase range. Or create a magazine well to stop jams. The 3D printing enhancements for Nerf guns show off amazing customization options.
Experimenting with Different Materials
ABS and PLA are common for 3D printing Nerf modifications. But there are many materials to try. Each one has unique features. Experiment to find what works best for you.
- ABS is strong and handles heat well. It’s a top pick for Nerf mods.
- PLA is better for the planet and can show fine details, but it’s not as strong as ABS.
- Nylon and PETG are extra durable and flexible, perfect for heavy use.
Looking into various 3D printing materials can inspire unique Nerf gun mods.
Sharing and Downloading Designs from Online Communities
Online, Nerf and 3D printing fans share a lot. You can find various custom parts, from sights to magazine holders. This is through sites like NerfHaven and Thingiverse.
Both let you download and print others’ designs. Plus, you can share your own. This adds to a vast collection of Nerf mod designs.

Connecting with these online resources helps you keep improving your Nerf gun. You’ll discover new ways to boost its performance and looks.
Conclusion
In this guide, we’ve shown how to make custom parts for Nerf guns with 3D printing. You picked the best printer and software. Then, create your designs and learn how to fix issues. You’re ready to boost your Nerf gun hobby to the next level.
Summary of Key Points
3D printing lets Nerf fans make their blasters uniquely theirs. This means creating mods and upgrades. We looked at the tech side, too. Picking the best printer, creating designs, and ensuring they print perfectly.
Encouragement to Start 3D Printing Custom Parts
Start your 3D printing journey by customizing Nerf Blasters. The fun and creativity are endless. Embrace your design skills. You’ll find 3D printing for Nerf guns is rewarding and fun.
FAQ About 3D Printing
What are the benefits of 3D-printed parts for Nerf guns?
What kind of 3D printer do I need to print Nerf parts?
How do I design custom parts for my Nerf guns?
What steps are involved in preparing my 3D designs for printing?
How do I troubleshoot common issues when 3D printing Nerf parts?
Where can I find more advanced tips and techniques for 3D printing Nerf parts?
Source Links
-
- Niche Made: Modding NERF Guns With 3D Printing – 3DPrint.com | The Voice of 3D Printing / Additive Manufacturing
- How To: 3D Print Custom Wall Mounts | MatterHackers
- Prusa 3D Print Farm for Nerf Mods
- T19 Build Guide – Part 1 – MASTER POST and 3D Printed Parts
- Hacker mods Nerf gun into an awesome 3D printed Halo 5 MA5D assault rifle
- Definitive Guide to 3D Printing – Homemades
- The Most Incredible 3D Printed Dart Launcher You’ll Ever See | MatterHackers
- How Modding Nerf Blasters Became a 3D Printing Business
- Getting started with 3D printing | Mojo Nation
- Nerf best 3D printing files・1k models to download・Cults
- nerf custom parts, 3d models
- 67 Cool Things to 3D Print
- Best 3D Printer for Miniatures & Wargames Models 2023 – FauxHammer
- 3D printing with kids – building and having fun together! – Original Prusa 3D Printers
- 🔫 Best 3D print files for NERF Guns — 105 designs・Cults
- 3D printing
- Skill Builder — Finishing and Post-Processing Your 3D Printed Objects
- Free STL File Download
- Nerf Mods: a Beginner’s Guide
- The engineers are building ridiculous dart blasters that Nerf won’t touch
- Gun 3D Printer, Industrial 3D Printer for Gun Parts and Gun Models
- Printing Insecurity? The Security Implications of 3D-Printing of Weapons – Science and Engineering Ethics
- Guns, Limbs, and Toys: What Future for 3D Printing?